How to Make Pure Peanut/Groundnut Oil at Home – Step-by-Step Guide
-
Virgin Groundnut Oil – Cold Pressed Peanut Oil for Cooking & Wellness
Vendor:Ecovale India Private LimitedRegular price From Rs. 234.00Regular priceUnit price perRs. 234.00Sale price From Rs. 234.00 -
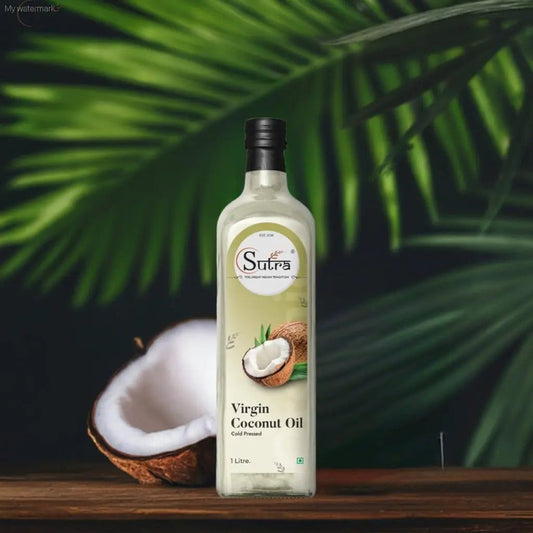
Cold Pressed Virgin Coconut Oil – Pure & Fresh
Vendor:Ecovale India Private LimitedRegular price From Rs. 203.00Regular priceUnit price perRs. 203.00Sale price From Rs. 203.00 -
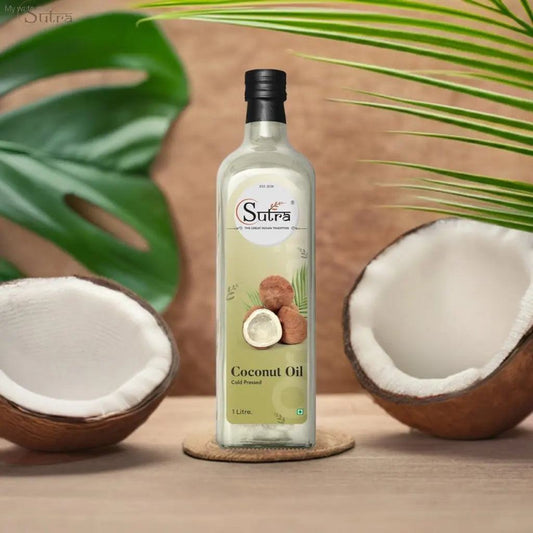
Wooden Cold Pressed Coconut Oil – Pure, Natural & Fresh
Vendor:Ecovale India Private LimitedRegular price From Rs. 140.00Regular priceUnit price perRs. 147.00Sale price From Rs. 140.00Sale -
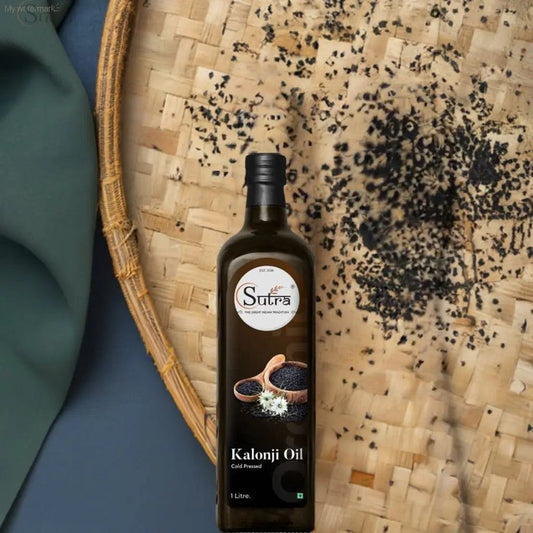
Cold Pressed Kalonji Oil / Black Seed Oil / Karunjeeragam Oil – Wooden Ghani Extracted
Vendor:Ecovale India Private LimitedRegular price From Rs. 145.00Regular priceUnit price perRs. 161.00Sale price From Rs. 145.00Sale -
Wooden Cold Pressed Safflower Oil – Pure & Light Cooking Oil
Vendor:Ecovale India Private LimitedRegular price From Rs. 381.00Regular priceUnit price perRs. 449.00Sale price From Rs. 381.00Sale -
Premium Cold Pressed Sunflower Cooking Oil – Light & Heart Healthy
Vendor:Ecovale India Private LimitedRegular price From Rs. 278.00Regular priceUnit price perRs. 292.00Sale price From Rs. 278.00Sale -
Cold Pressed Castor Oil – Natural Remedy for Hair, Skin & Wellness
Vendor:Ecovale India Private LimitedRegular price From Rs. 105.00Regular priceUnit price perRs. 110.00Sale price From Rs. 105.00Sale -
Badam / Almond Oil (Wooden Cold Pressed) – Edible & Multipurpose
Vendor:Ecovale India Private LimitedRegular price From Rs. 222.00Regular priceUnit price perRs. 247.00Sale price From Rs. 222.00Sale -
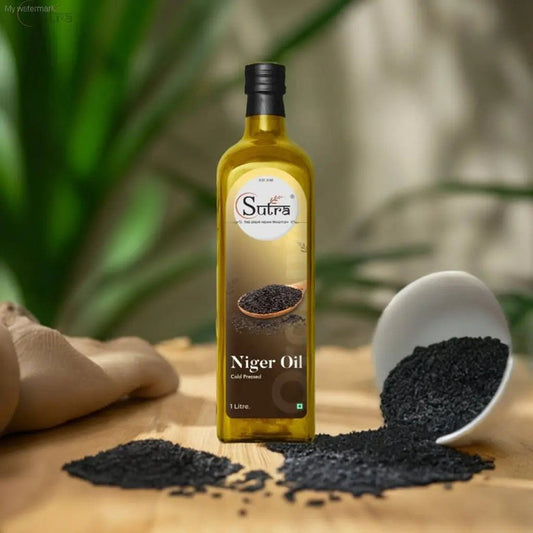
Wood Cold Pressed Niger Seed Oil – Pure Cooking Oil
Vendor:Ecovale India Private LimitedRegular price From Rs. 193.00Regular priceUnit price perRs. 228.00Sale price From Rs. 193.00Sale -
Cold Pressed Mustard Oil – Kachi Ghani (Wood Pressed) for Cooking & Wellness
Vendor:Ecovale India Private LimitedRegular price From Rs. 154.00Regular priceUnit price perRs. 154.00Sale price From Rs. 154.00 -
Wooden Cold Pressed Flaxseed Oil – Rich in Omega-3 & Plant Nutrition
Vendor:Ecovale India Private LimitedRegular price From Rs. 144.00Regular priceUnit price perRs. 144.00Sale price From Rs. 144.00 -
Premium Extra Virgin Olive Oil for Authentic Italian Cooking
Vendor:Ecovale India Private LimitedRegular price From Rs. 179.00Regular priceUnit price perRs. 199.00Sale price From Rs. 179.00Sale -
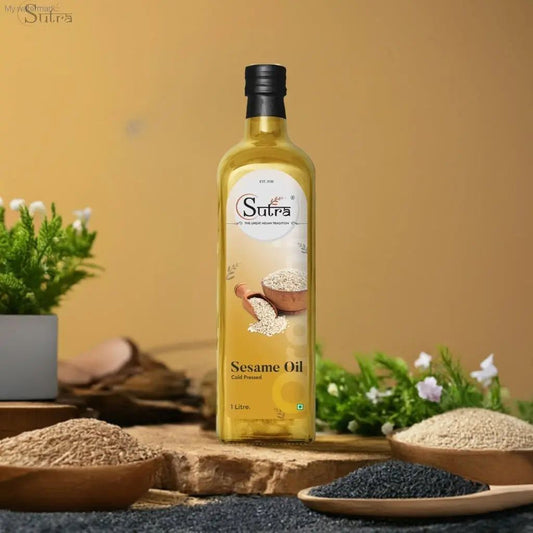
Cold Pressed White Sesame Oil (Til Oil) – Wooden Ghani Extracted
Vendor:Ecovale India Private LimitedRegular price From Rs. 208.00Regular priceUnit price perRs. 219.00Sale price From Rs. 208.00Sale -
Wooden Cold Pressed Walnut Oil – Edible Grade
Vendor:Ecovale India Private LimitedRegular price From Rs. 154.00Regular priceUnit price perRs. 162.00Sale price From Rs. 154.00Sale -
Hot Pressed Groundnut Oil – 100% Pure & Natural | Sutrakart
Vendor:Ecovale India Private LimitedRegular price From Rs. 318.00Regular priceUnit price perRs. 374.00Sale price From Rs. 318.00Sale -
Cold Pressed Neem Oil / Margosa Oil – Natural Solution for Hair, Skin & Plants
Vendor:Ecovale India Private LimitedRegular price From Rs. 148.00Regular priceUnit price perRs. 140.00Sale price From Rs. 148.00
How to Make Pure Peanut/Groundnut Oil at Home – Step-by-Step Guide
Updated for 2025: Learn the traditional and modern ways to make pure groundnut oil at home. We’ll cover cold-pressed (wooden ghani) methods, the nutritional benefits, and storage tips to ensure maximum freshness.
Why Make Groundnut Oil at Home?
Peanut oil, also known as groundnut oil, kadalai ennai (Tamil), or shenga yenne (Kannada), is valued for its natural aroma, rich flavor, and nutritional benefits. Making it at home ensures it’s pure, chemical-free, and unrefined. Store-bought oils may contain preservatives, deodorizers, or bleaching agents that reduce quality. Homemade oil gives you full control over raw materials and processing.
Health Benefits of Homemade Cold-Pressed Groundnut Oil
- Rich in Vitamin E: Acts as a natural antioxidant that supports skin health.
- Heart-friendly fats: Contains monounsaturated and polyunsaturated fats that help maintain cholesterol levels.
- Anti-inflammatory: Cold-pressing retains plant compounds that reduce inflammation.
- High smoke point: Suitable for deep frying, sautéing, and Indian tadkas without losing nutrients.
- No chemical residues: 100% pure when made traditionally.
Ingredients & Equipment Needed
Ingredients
- High-quality raw peanuts (sun-dried preferred)
- Clean drinking water (for optional washing)
Equipment
- Wooden ghani/marachekku (traditional cold press)
- Hand-crank or motorized oil expeller
- Fine muslin cloth for filtering
- Glass or stainless steel storage containers
Step-by-Step Process to Make Pure Groundnut Oil at Home
Step 1: Select & Clean the Peanuts
Choose high-quality, organic peanuts. Remove stones, dirt, and damaged nuts. If needed, rinse them lightly and let them dry completely under sunlight.
Step 2: Sun-Dry for Flavor & Shelf Life
Spread peanuts on a clean mat and sun-dry for 2–3 days. This reduces moisture, enhances oil yield, and prevents rancidity.
Step 3: Roast Lightly (Optional)
Some prefer roasting peanuts lightly before pressing to enhance aroma. Keep roasting at low heat to avoid nutrient loss.
Step 4: Cold Pressing
Load peanuts into a wooden ghani or mechanical expeller running at a slow speed (10–15 RPM). The slow grinding prevents heat buildup, preserving nutrients.
Step 5: Filtering
Filter the extracted oil using a muslin cloth. Avoid chemical filtration; natural sediment settling retains nutrients.
Step 6: Storing the Oil
Store in clean, airtight glass or stainless-steel containers away from sunlight. Let the oil rest for a week before using to allow natural sedimentation.
Tips for Making Long-Lasting Groundnut Oil
- Always use sun-dried peanuts.
- Do not overheat during roasting or pressing.
- Store away from moisture and light.
- Consume within 6–8 months for best quality.
Common Mistakes to Avoid
- Using peanuts with moisture → causes fungal growth.
- High-speed pressing → generates heat, reducing nutrients.
- Using plastic containers → may leach harmful chemicals.
FAQs – How to Make Peanut Oil at Home
1. Can I make groundnut oil without a machine?
Yes, by manually pounding peanuts and squeezing them, but yield is low. A hand-crank expeller is more efficient.
2. Is cold-pressed oil healthier than refined oil?
Absolutely. Cold-pressed oil retains natural antioxidants, vitamins, and flavor, unlike refined oil which undergoes chemical treatment.
3. How long can homemade peanut oil last?
If stored properly in a cool, dark place, it can last 6–8 months without spoilage.
4. Do I need to refrigerate homemade peanut oil?
Not necessary, but refrigeration can extend freshness in hot climates.


